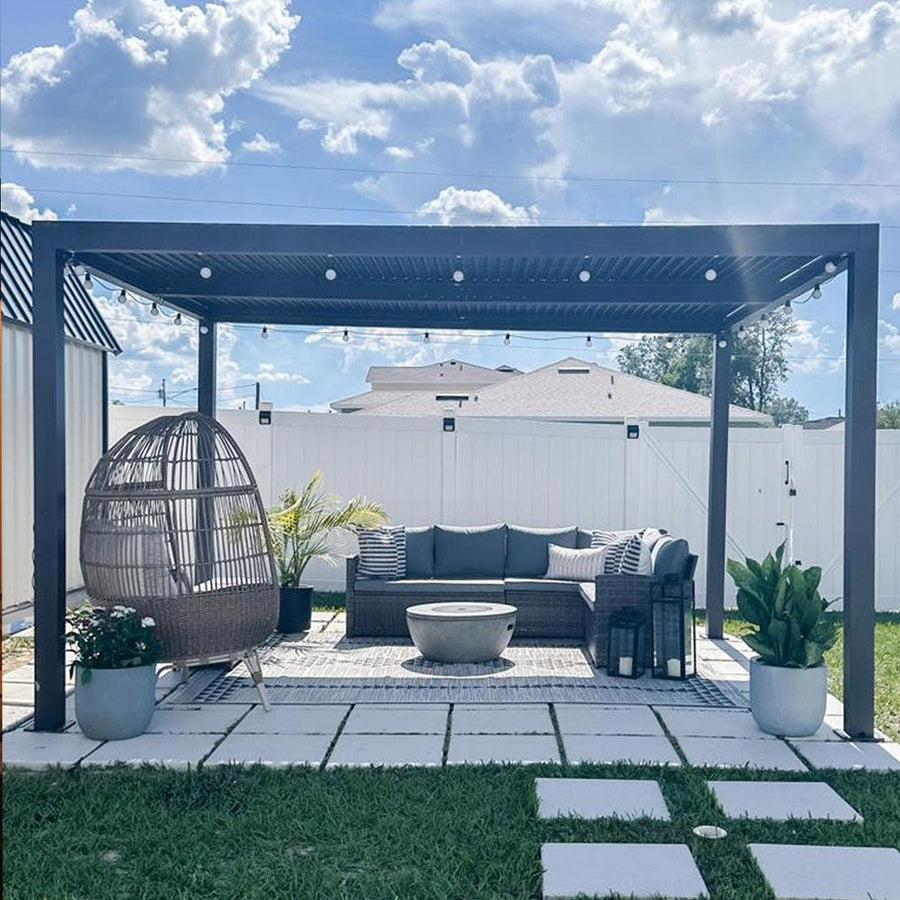
Transform Your Outdoor Space: Discover the Must-Have Tools for Your Dream Louvered Pergola!
Imagine transforming your outdoor space into a serene retreat where you can enjoy the beauty of nature while being sheltered from the sun. A louvered pergola is the perfect solution to enhance your backyard, providing adjustable shade and a touch of elegance to any area. With the rise of DIY projects, more homeowners are taking on the challenge of building their own outdoor structures, and there's a deep satisfaction that comes from crafting something with your own hands. In this guide, we will delve into the essential tools you’ll need for a successful DIY louvered pergola installation, ensuring that your project is not only manageable but also rewarding.

Essential Tools for DIY Louvered Pergola Installation
Before you dive into your pergola project, it's crucial to gather the right tools. Here’s a rundown of the essential tools that will make your installation smoother and more efficient:
- Measuring Tape: Accurate measurements are the backbone of any successful construction project. A reliable measuring tape will help ensure that your cuts and placements are precise.
- Level: To ensure that your pergola is structurally sound and visually appealing, a level is vital for checking that your posts and beams are perfectly aligned.
- Circular Saw: This tool will be your best friend for cutting wood to the appropriate lengths. It’s efficient and allows for clean cuts, which are essential for fitting pieces together seamlessly.
- Drill and Drill Bits: A power drill will help you assemble the pergola by allowing you to drive screws into the wood easily. Having a variety of drill bits will help you tackle different materials.
- Socket Wrench Set: If your pergola design utilizes bolts, a socket wrench set will be necessary for tightening them securely.
- Safety Gear: Don’t forget your safety goggles and gloves! Protecting yourself during the installation process is just as important as having the right tools.
With these tools at your disposal, you’ll be well-equipped to tackle your louvered pergola project, ensuring accuracy, efficiency, and safety throughout the installation process.
Materials and Components Needed
In addition to tools, you’ll need to gather the right materials for your louvered pergola. The choice of materials not only affects the durability of the structure but also its overall aesthetic appeal. Here are the materials you’ll need:
- Wood: Cedar and redwood are popular choices due to their natural resistance to rot and insects. However, pressure-treated wood is also an option if you’re looking for something more budget-friendly.
- Hardware: Be sure to procure screws, bolts, and brackets that are rust-resistant, especially if your pergola will be exposed to the elements.
- Louver Mechanism: Depending on your design, you may need a louver mechanism that allows for easy adjustment of the slats. This could be a simple manual system or a more complex automated one.
- Finishing Materials: Consider whether you’ll want to stain or paint your pergola. Choosing weather-resistant finishes can help prolong the life of the wood.
Choosing the right materials is key—think about how you want your pergola to look and how long you want it to last. Spend some time in the planning phase to ensure you’re making choices that align with your vision.
Preparation and Planning for Installation
Preparation is pivotal when it comes to a successful installation. Start by selecting the ideal site for your pergola—consider factors such as sun exposure, proximity to your home, and how it will fit within the overall landscape. Take precise measurements of the space to ensure your pergola will fit as intended.
Next, create a layout of your pergola design. Sketching it out gives you a visual reference and allows you to make adjustments before cutting any materials. A well-thought-out plan will help you avoid costly mistakes and ensure that the installation process goes smoothly.
Remember, patience pays off in the planning phase. Taking the time to prepare will make the actual installation much more enjoyable and will significantly reduce the likelihood of unexpected challenges.
Step-by-Step Installation Process
Now that you have your tools and materials ready, it’s time to start the installation process. Follow these steps to guide you through:
- Mark Your Layout: Use stakes and string to outline the area where your pergola will go. This will give you a clear visual of the space and help with alignment.
- Install the Posts: Dig holes for the posts, ensuring they are deep enough for stability. Set the posts in place and use a level to ensure they are perfectly vertical before securing them with concrete.
- Attach the Beams: Once the posts are secure, attach the horizontal beams across the top. Use your level to make sure they are straight.
- Install the Louver Mechanism: Depending on your design, follow the manufacturer's instructions to install the louver mechanism. Ensure that it operates smoothly.
- Add the Slats: Attach the slats to the top of the pergola, spacing them apart according to your design for optimal light control.
- Finishing Touches: Sand any rough edges, and apply your chosen finish to protect the wood and enhance its appearance.
Throughout this process, don’t hesitate to ask a friend for help or consult online resources for additional tips and tricks. My friend recently built a louvered pergola, and he found that having an extra set of hands made a world of difference, especially when lifting the beams into place.
Successful DIY Louvered Pergola Build
In conclusion, building your own louvered pergola can be a fulfilling and enjoyable project that enhances your outdoor space. By gathering the right tools and materials, planning carefully, and following a step-by-step installation process, you’ll create a structure you can be proud of. The satisfaction of completing a DIY project is immense, and your new pergola will serve as a beautiful centerpiece for gatherings and relaxation for years to come. So, roll up your sleeves, and dive into your backyard transformation!


